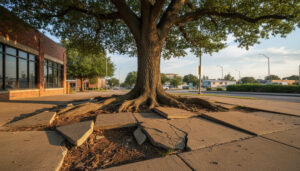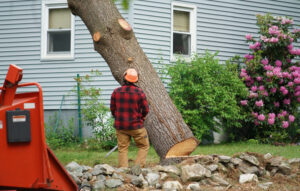
The tree is doing this to the fence, and it’s pushing it out. The board’s completely bowed cuz the base of the tree has grown up, and it’s pushing all the fence up, so it’s wrecking the fence. It’s time for tree removal.
Learn what to expect during the tree removal process.
Managing Limbs Near Structures
As limbs come down, they’ll reach a building or reach a fence. So a couple different ways to handle that are to cut the limbs kind of in half and try to keep them smaller when they come down. Put tension on them and lift them, even up into the tree, as they’re cut, so they don’t fall at all until ready for them to come down.
Climbing Systems and Setting Up Rigging
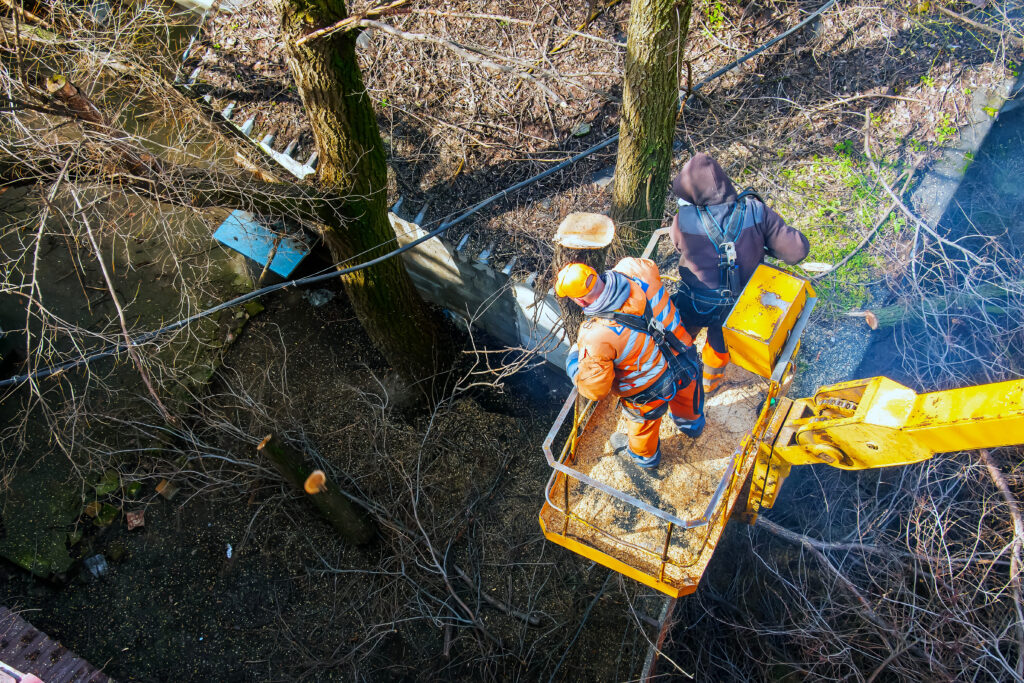
How Does The Tree Removal Process Work?
Slowly making the way up into the tree eventually lets you get high enough to set the climb line higher, then swing around and do different things, not locked into one position with the flip line.
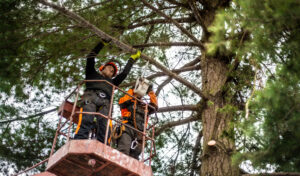
While removing trees, when on a climb line, a lot more places in the tree become reachable, free to move about the cabin. Two climbing systems get used: the flip line and the climb line, leapfrogging up through the branches using each system.
Throwing the climb line up over a limb, a limb that’s trustworthy, getting it to come back down, skipping past the other ones, clipping it on, moving it up, taking the slack out, putting weight in it, taking the clip line off, and once again free climbing in a way, in a sense, still tied in but climbing up the branches, skipping over limbs, and transitioning back over for the flip line.
Deciding what limbs to go, which route up the tree to take, also means keeping in mind that a pulley needs to get set up so limbs can be rigged down. They need to be on the correct side of the fence to take them out to the chipper.
Setting the Final Rigging Point
Near the top, the final tie-in point gets set. Prepare for tree removal, and hook up and attach the items needed to the climb line and pull up the tree: a sling and a pulley. The sling can be made smaller or bigger based on how big the tree is; basically, go around the tree, put one end through the other, keep it on the back side of the limb, and make a loop. Then the pulley gets taken, going through it, and the rig line gets put through the pulley.
The extra tail wrapped around the tree doesn’t do anything; it just gets it out of the way. That’s a tie-in point completely stable, firm, solid. Rigging set, the rigging line goes down through the limbs, then repelling back down follows the same pathway used going up.
Use a device called a rope runner to let the slack out into the line, keeping everything that came up along, going back down the same route, keeping stuff from hanging up.
Cutting the Limbs
Back down at the bottom of the tree, going back onto the flip line means being double-tied in while cutting, so if one of the lines gets cut by accident with the chainsaw, there’s no falling out of the tree.
First, clear the whole front side of the tree; that way, when the limbs on the back side need to come out, they can swing around to the front and have room to go. There’s an order of operations here.
A little bit of a push while cutting off limbs keeps it away from the base of the tree, avoiding the root flare and the trunk flare, since a piece could bounce and go flying, and avoiding hitting equipment set up earlier.
Rigging Down Larger Limbs
A lot of self-rigging happens too, cutting a limb and wrapping it around a couple times, doing the rigging, then slowly letting the rope out to let the limb down. Devices like the Stein get used to capture all the tension in the rope and lock it off. Hooking up the winch to it pulls even more out of it.
Taking Down the Top and Trunk Wood
Once most limbs are cleared, going up higher gets ready for doing a top, rigging that top down with a negative rig, needing to put a sling on the top first. Putting a face cut in, attaching a rope to the tree, doing the back cut, and it comes down controlled.